An addiction I discovered on a recent trip to the USA, from one of my favourite cities in the world - NYC. A divine combination of sweet chocolate brownie with the bite of salted caramel drizzled through. A moorishly divine delight that I hope you enjoy as much as I did xoxo
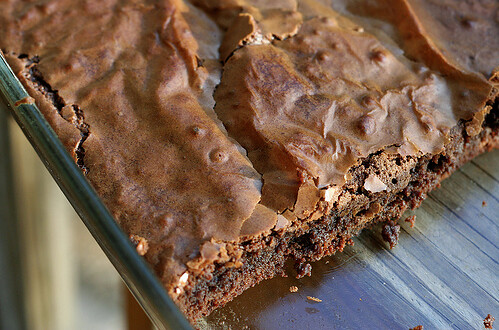
SWEET & SALTY BROWNIES
INGREDIENTS
For the filling:
1 cup sugar
2 tablespoons light corn syrup
1/2 cup heavy cream
1 teaspoon fleur de sel
1/4 cup sour cream
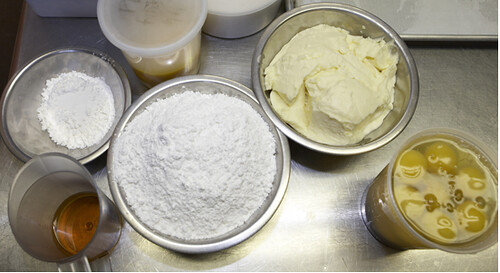
For the brownie:
11/4 cups all purpose flour
1 teaspoon salt
2 tablespoons dark unsweetened cocoa powder (like Valrhona)
11 ounces quality dark chocolate (60 to 72%), coarsely chopped
1 cup unsalted butter, cut into 1 inch cubes
11/2 cups sugar
1/2 cup firmly packed light brown sugar
5 large eggs, at room temperature
2 teaspoons vanilla extract
For the packing:
11/2 teaspoons fleur de sel
1 teaspoon course sugar
MAKE THE CARAMEL
In a medium saucepan, combine the sugar and corn syrup with 1/4 cup water, stirring them together carefully so you don't splash the sides of the pan. Cook over high heat until an instant-read thermometer reads 176.5 degrees celsius, or until the mixture is dark amber in colour (keep an eye on the caramel at all times as it goes from golden brown and black to burnt very quickly), 6 to 8 minutes. Remove from the heat and slowly add the cream (careful, it will bubble up) and then the fleur de sell. Whisk in the sour cream. Set aside to cool.
MAKE THE BROWNIE
Preheat the oven to 176.5 degrees celsius.
Butter the sides and bottom of a glass or light coloured metal 9-by-13 inch tray. line the bottom with a sheet of baking paper.
In a medium bowl , whisk together the flour, salt and cocoa powder.
Place the chocolate and butter in the bowl of a double boiler set over a pan of simmering water, and stir occasionally until the chocolate and butter are completely melted and combined. Turn off the heat, but keep the bowl over the water of the double boiler, and add both sugars, Whisk until completely combined and remove the bowl from the pan. The mixture should be at room temperature.
Add three eggs to the chocolate mixture and whisk until just combined. Add the remaining eggs and whisk until just combined. Add the vanilla and stir until combined. Do not overbeat the batter at this stage or your brownies will be cakey.
Sprinkle the flour mixture over the chocolate. Using a spatula, fold the dry ingredients into the wet ingredients until there is just a trace amount of the flour mixture visible.
ASSEMBLE THE SWEET & SALTY BROWNIE
Pour half the brownie mixture into the pan and smooth the top with a spatula. Drizzle about 3/4 cup of the caramel sauce over the brownie layer in a zigzag pattern, taking care to make sure the caramel does not come into contact with the edges of the pan or it will burn. Use your offset spatula to spread the caramel evenly across the brownie layer. In heaping spoonfuls, scoop the rest of the brownie batter over the caramel layer. Smooth the brownie batter gently to cover the caramel layer.
Bake the brownies for 30 minutes, rotating the pan half way through the baking time, and check to make sure the brownies are completely done by sticking a toothpick into the centre of the tray. The brownies are done when the toothpick comes out with a few moist crumbs.
Remove the brownies from the oven and sprinkle with fleur de sell and coarse sugar.
Cool the brownies completely before serving. They can be stored, tightly wrapped at room temperature for up to 4 days.
An extract from BAKED Explorations, Classic American Desserts Reinvented by Matt Lewis & Renato Poliafito
http://bakednyc.com/

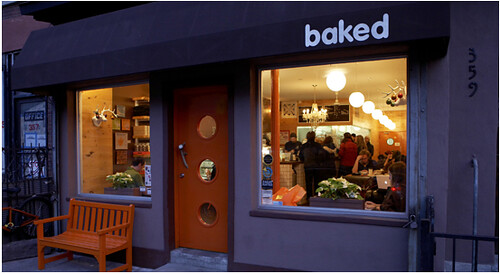
{images via Baked NYC and
Honey & Jam }